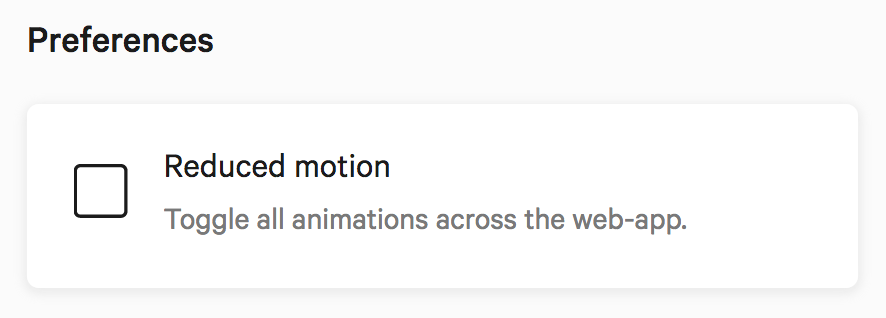
There are quite a few reasons for someone not to want animations. Some people suffer from motion sickness. Some people suffer from ADHD. Some people simply don’t like the fancy woosh-swoosh.
It turns out implementing an option for users to disable animations across the board is surprisingly easy. This is what we’ve done at N26 as part of the rewriting of the web application. Here’s how we did it, and how you could too.
How it works
The core concept behind this technique is rather simple, only the implementation differs based on the tech stack.
Here is how it works: an option to toggle a flag exists somewhere on the user’s settings. Under the hood, this flag changes a CSS custom property to 0 (disabled) or 1 (enabled). All animations and transitions’ duration and delay are multiplied by this flag using calc(..); when disabled, the operation will result in 0, effectively disabling the animation/transation.

Last but not least, we can read the system preference through the prefers-reduced-motion media query when supported to automatically turn off this flag. CSS-Tricks has a fantastic article about reduced motion, in case you haven’t read it yet.
Authoring animations and durations
The very first thing we need to do is to define the CSS custom property at the root of the document. We called it --duration, but feel free to pick another name.
:root {
  --duration: 1;
}
For this technique to work, all animations and transitions need to be authored in a specific way. The trick is to multiply the desired value by the value of the flag through the calc(..) function.
For the sake of the argument, consider the following declaration:
.foobar {
  transition: transform 250ms;
}
We need to rewrite it like this:
.foobar {
  transition: transform calc(var(--duration) * 250ms);
}
When the --duration CSS custom property is set to 1, the duration gets resolved to 250ms, otherwise to 0ms. This works the same for animations.
Implementing control
Because this is a strictly visual concern, we don’t save this option in our database. We keep that as a cookie on the browser level. We could have used localStorage all the same by the way, which will do for the sake of simplicity. Our application is in React, but here is a how it could be written in plain old JavaScript:
document
  .querySelector('#reduced-motion')
  .addEventListener('change', function (event) {
    const reducedMotion = event.target.checked

    saveReducedMotionOption(reducedMotion)
    updateReducedMotionFlag(reducedMotion)
  })

function saveReducedMotionOption(value) {
  localStorage.setItem('reducedMotion', value)
}

function updateReducedMotionFlag(value) {
  // `true` (reduced) should be `0`, `false` should be `1`.
  const flag = Number(!value)
  document.documentElement.style.setProperty('--duration', flag)
}
On page load, we need to check the stored value and update the --duration custom property accordingly.
document.addEventListener('DOMContentLoaded', function (event) {
  const reducedMotion = Boolean(localStorage.getItem('reducedMotion'))

  updateReducedMotionFlag(reducedMotion)
  updateReducedMotionCheckbox(reducedMotion)
})

function updateReducedMotionCheckbox(value) {
  document.querySelector('#reduced-motion').checked = !!value
}
Detecting system preference
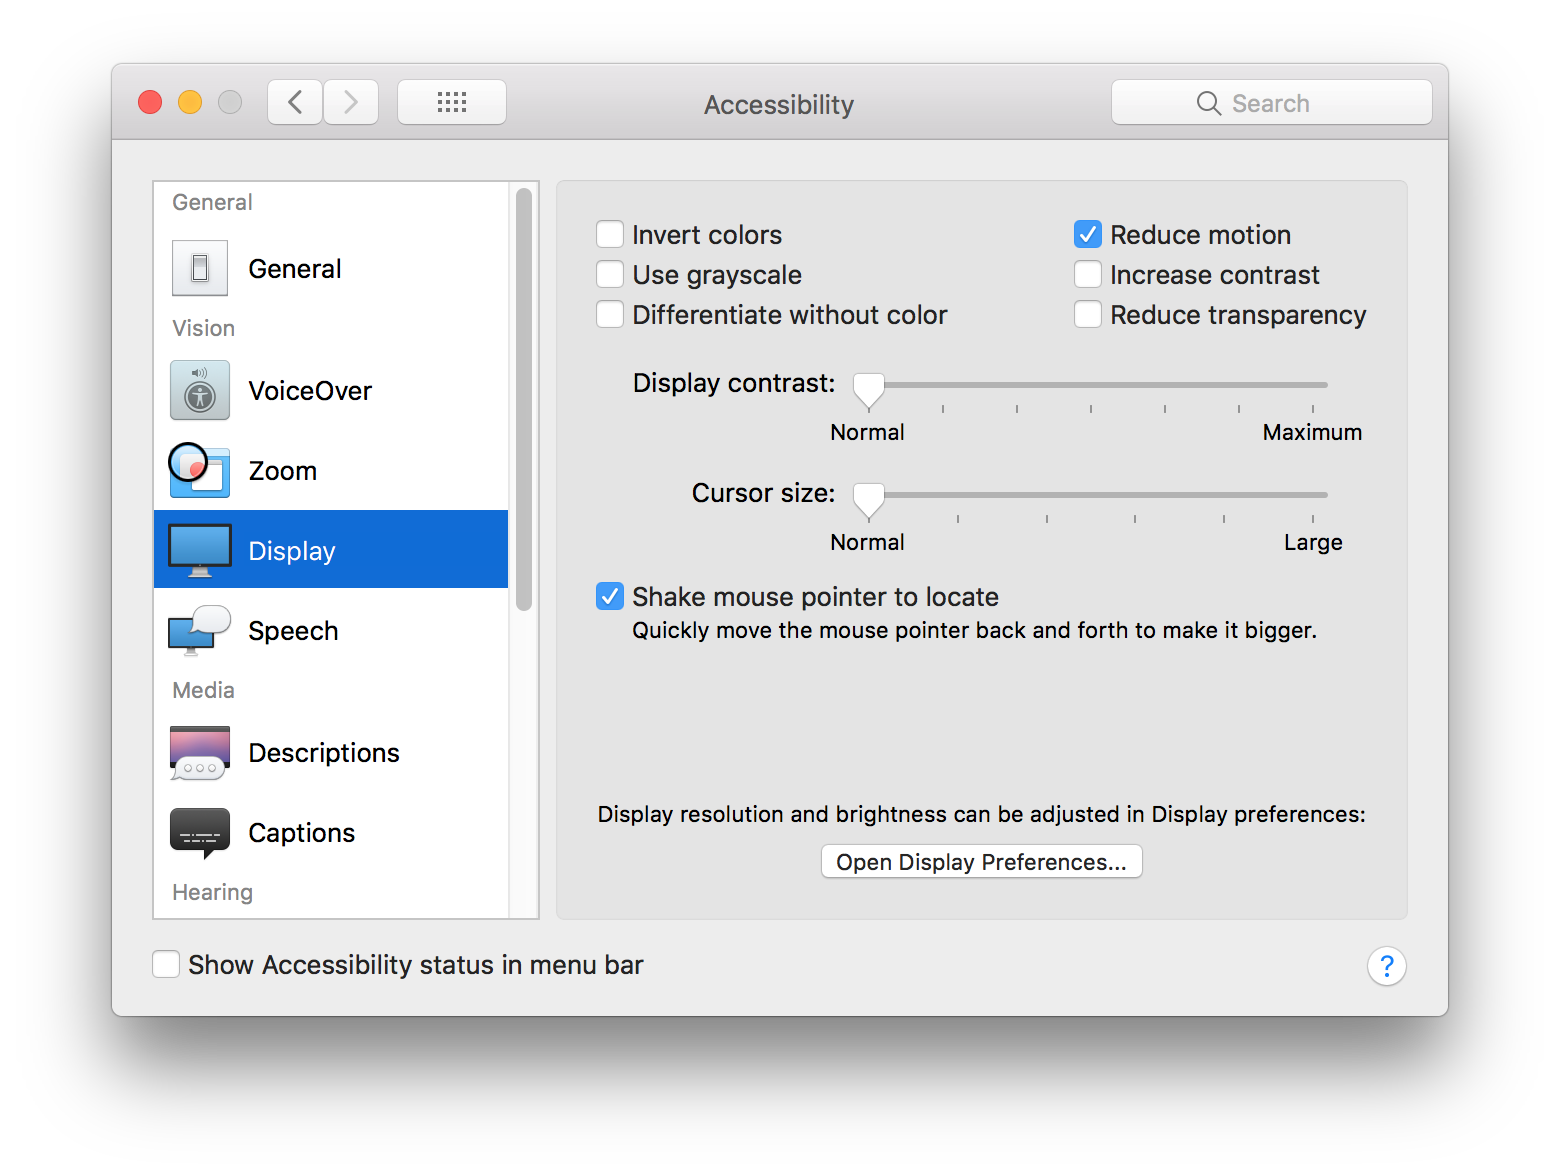
At this point, we should have a working reduced-motion mode that users can toggle at their will. Now an extra nice thing we can do is detect if the user has enabled the reduced motion mode on their operating system already. Not all OS have one. Here is how it looks on macOS for instance:

In theory, this hint is being passed down to the browser (if supported) so it can be detected through a media query. The support for the reduced-motion media query is rather scarce so far, but it will get better eventually.
If we can detect the reduced mode, we can turn on the flag automatically and disable the checkbox. The first part can be done in CSS (or in JavaScript directly, up to you):
@media (prefers-reduced-motion: reduce) {
  :root {
    --duration: 0;
  }
}
The second part will need a little bit of JavaScript.
document.addEventListener('DOMContentLoaded', function (event) {
  const checkbox = document.querySelector('#reduced-motion')
  const query = '(prefers-reduced-motion: reduce)'
  const hasOSReducedMotion = window.matchMedia(query).matches

  if (hasOSReducedMotion) {
    checkbox.checked = true
    checkbox.disabled = true
  }
})
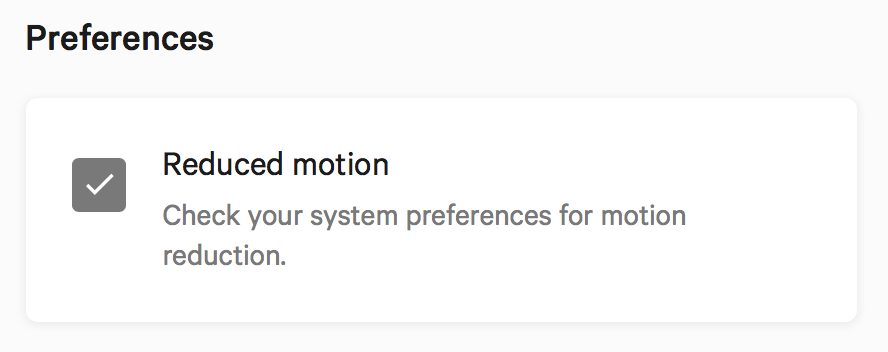
At N26, we even changed the copy to explain why the setting is checked but disabled:

Pushing things further
From there, we can use this reduced motion mode for more than just disabling animations and transitions. For instance, we swap all looping GIFs with static images. We keep videos as long as they need user activation (which they should anyway).
One thing to be careful of however is not to remove important interactions such as hover / focus states. This “lite mode” is really about reduced motion on screen, but it doesn’t mean we abandon the concept of visual states.
I hope you liked this article. You can play with a small demo on CodePen.